
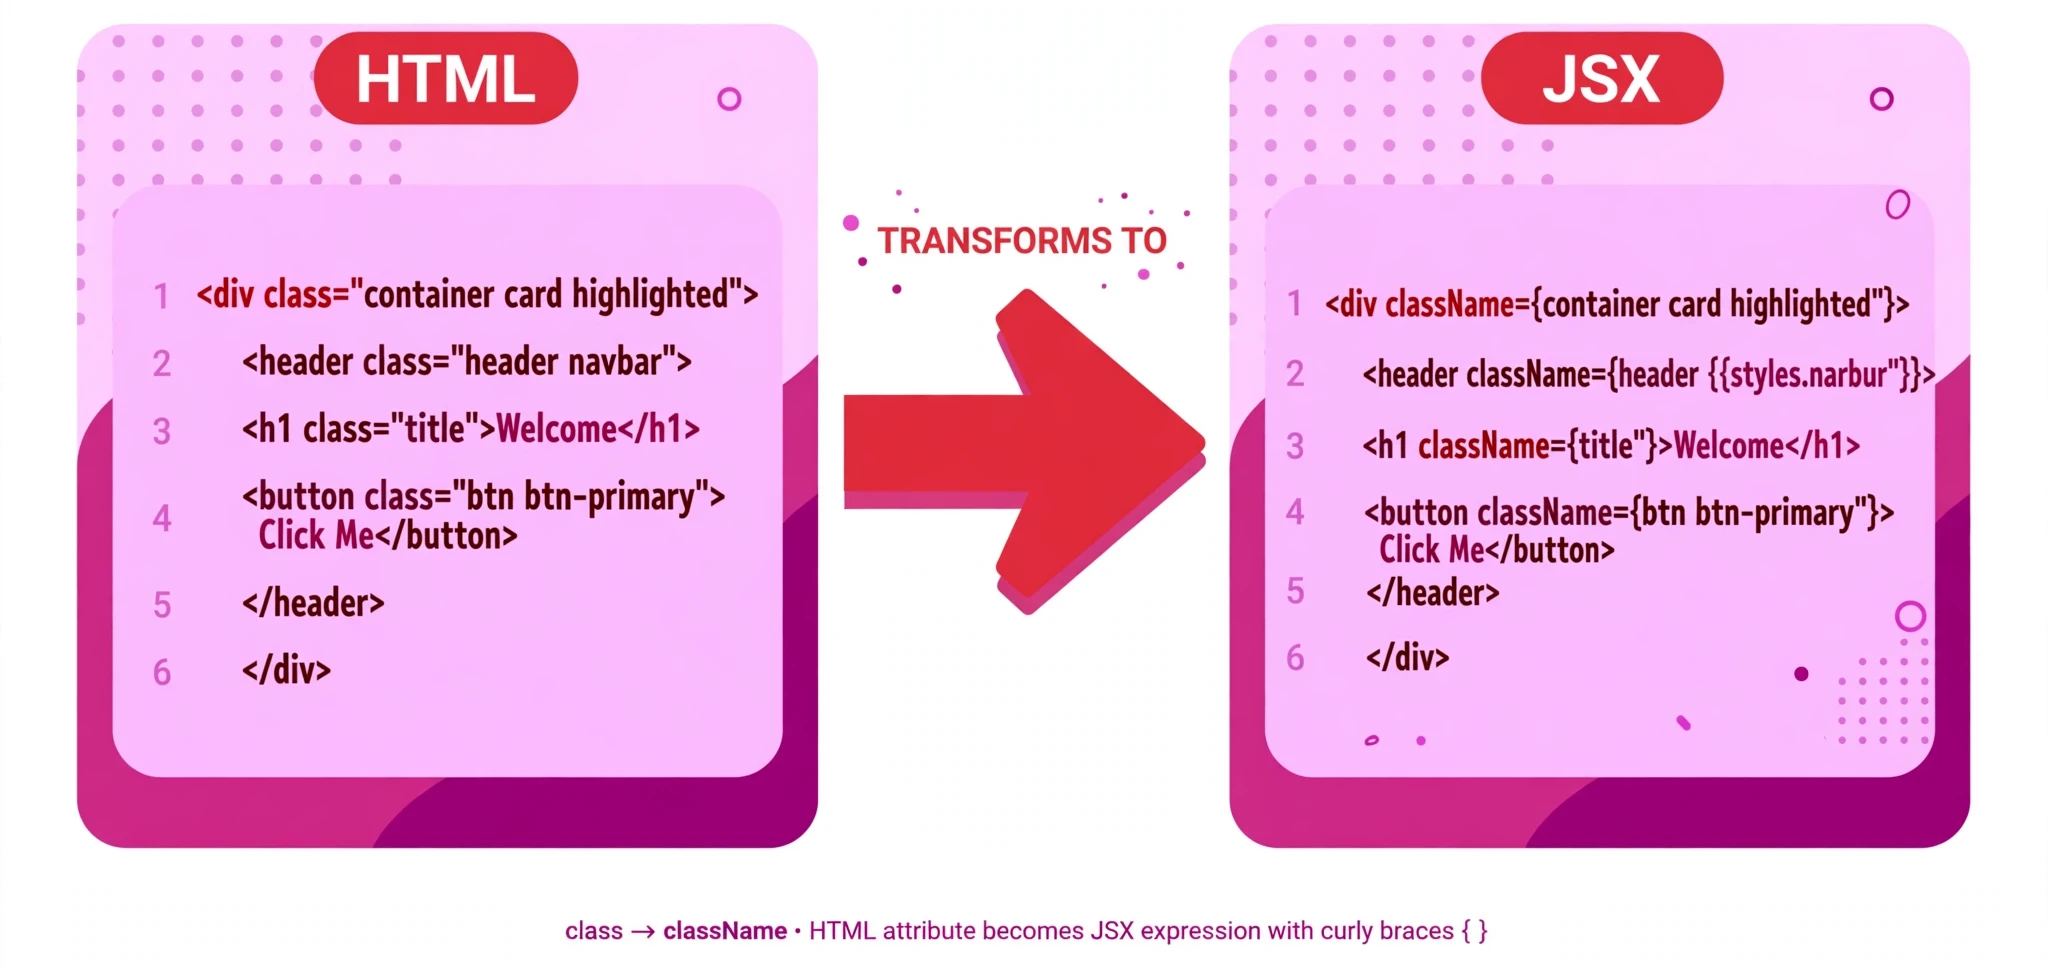
JSX is JavaScript, not HTML: this converter handles common markup — class, for, styles, self-closing tags, boolean and SVG attributes. Complex HTML may need manual adjustments: event handlers (onclick and friends) cannot be converted to functions, script and style blocks are kept as text and do not run, and attributes the converter does not recognise are left as they are. The input is parsed, never executed, and nothing leaves your browser.
What is the HTML to JSX Converter?
An HTML to JSX converter turns ordinary HTML markup into JSX — the syntax React uses inside JavaScript files. HTML and JSX look alike, but they are not the same language, and pasting HTML straight into a React component breaks it: class is a reserved word in JavaScript, for is too, inline styles work differently, and tags that HTML lets you leave open must close in JSX. This free HTML to JSX Converter makes all of those changes for you.
Here is what it does, element by element. class becomes className and for becomes htmlFor. Inline styles become style objects, so style="color: red; font-size: 14px;" becomes style={{ color: 'red', fontSize: '14px' }} — with the CSS property names camelCased. Void elements and empty elements self-close: <input> becomes <input /> and <img> becomes <img />. Boolean attributes such as disabled stay bare, and common SVG attributes are camelCased too.
The conversion is done with the browser’s DOMParser — a proper parser, not regular expressions — so the structure of your markup is understood, not guessed. Your input is parsed, never executed, and never inserted into the page. And everything runs in your browser: nothing is uploaded, stored, or sent anywhere.
It is made for anyone learning React or moving a design into a React app: students turning a static page into components, developers copying a snippet from a template, and bloggers showing React examples. Paste the HTML you already have, and get JSX you can drop into a component.
How to use the HTML to JSX Converter
- Paste your HTML into the HTML box. The tool loads with a sample card already in place, so you will see a conversion immediately. Replace it with your own markup whenever you are ready.
- Click Convert. The result appears in the JSX box on the right. There are no settings to choose — the converter applies the JSX rules to whatever you pasted.
- Read any warnings. If your markup uses something the converter cannot handle — an event handler, a script or style block, or an attribute it does not recognise — a warning appears underneath. Read it before you use the output.
- Copy or download the result. Use Copy JSX to put the converted code on your clipboard, or Download to save it as a file. Clear empties the input, and Reset restores the sample card.
Worked example
Paste this HTML into the input:
<div class="card">
  <label for="name">Your name</label>
  <input type="text" id="name" disabled>
  <p style="color: red; font-size: 14px;">Hello, world!</p>
  <img src="photo.jpg" alt="A photo">
</div>
Click Convert and the HTML to JSX Converter returns:
<div className="card">
  <label htmlFor="name">Your name</label>
  <input type="text" id="name" disabled />
  <p style={{ color: 'red', fontSize: '14px' }}>Hello, world!</p>
  <img src="photo.jpg" alt="A photo" />
</div>
Five changes, all visible: class became className, for became htmlFor, the <input> and <img> tags self-closed, the boolean disabled stayed bare, and the inline style became a style object with fontSize camelCased. Paste that into a React component and it works.
When a converter like this earns its keep
Turning a static page into React components. When you rebuild a page in React, the markup already exists as HTML — from a template, a design, or an old site. Converting it by hand means editing every class, every style, and every unclosed tag. This tool does the mechanical part in one click, so you can spend your time on the component logic instead.
Copying a snippet into a React project. A snippet from a tutorial, a UI library’s documentation, or a colleague’s page is almost always written as HTML. Paste it here first and you get JSX that will not throw errors about class or unclosed tags the moment you save the file.
Learning the differences between HTML and JSX. If you are learning React, the converter is also a teacher: paste HTML you understand, and the output shows you exactly how JSX differs — className instead of class, style objects instead of style strings, self-closing tags. Comparing the two side by side teaches the rules faster than reading them in a list.
Tips for getting the best result
Read the warnings — they tell you what needs your attention. Event handlers such as onclick cannot be converted to functions automatically, script and style blocks are kept as text and do not run, and attributes the converter does not recognise are left as they are. A warning is not a failure; it is the tool telling you which lines to check by hand.
Convert small pieces, not whole pages. The converter handles common markup well, but a whole page usually contains something unusual — a script, an inline event, a strange attribute. Convert one component at a time and you will catch the warnings while they are still easy to deal with.
Remember that JSX is JavaScript, not HTML. That is why class and for had to change: they are reserved words in JavaScript. The same reason applies to anything else that looks like HTML but is not valid in a JavaScript file. If the output still errors in React, check for anything that is not plain markup — a comment in the wrong form, for example, or a stray <script>.
Keep the original HTML. Always keep the source you started with. If a conversion loses something, you can go back to the original and convert a smaller piece, instead of trying to repair the converted output.
Check style objects carefully. CSS property names become camelCase — font-size becomes fontSize, background-color becomes backgroundColor — and values that are numbers stay numbers, so opacity: 0.5 becomes opacity: 0.5 without quotes while color: 'red' keeps its quotes. If a style looks wrong in React, the style object is the first place to look.
Frequently asked questions
Why can’t I paste HTML straight into React?
Because JSX is JavaScript, not HTML. class and for are reserved words in JavaScript, so JSX uses className and htmlFor instead. Inline styles are objects, not strings. And JSX requires every element to close, so void elements such as <input> and <img> must self-close. This converter makes all of those changes for you.
Does it convert event handlers like onclick?
No. An event handler such as onclick="doSomething()" cannot be converted to a function automatically — a function has to be written, not translated. The tool warns you about event handlers so you can replace them with React handlers yourself.
What happens to script and style blocks?
They are kept as text and do not run. A <script> block inside converted JSX is not executed, and a <style> block does not apply its styles. Move scripts into your component’s JavaScript and styles into your stylesheet or style objects instead.
Is my HTML uploaded anywhere?
No. Everything runs in your browser, on your own device. The input is parsed with the browser’s DOMParser — never executed, never inserted into the page — and nothing is uploaded, stored, or shared.
Will it handle a whole page?
It handles common markup well, but complex HTML may still need manual adjustments. Convert one component at a time, read the warnings, and fix the lines the tool flags. That is faster and safer than converting an entire page and hunting for the problems afterwards.
Conclusion
HTML and JSX look almost identical, and that is exactly what makes pasting HTML into React so frustrating — the differences are small, but they break the build. The HTML to JSX Converter makes all of them for you: className, htmlFor, style objects, self-closing tags, and camelCased SVG attributes, free and in your browser.
Try it on the tool above, and when your HTML needs tidying before you convert it, run it through the HTML Formatter first.